In recent years, the popularity of homelab servers has grown significantly. A homelab server is a powerful computer that is used for running various services and applications at home. It can be used for tasks such as media streaming, file storage, running virtual machines, and even gaming.
The purpose of a homelab server is to provide a platform for learning, experimentation, and testing. With a homelab server, you can explore new technologies, test out software and services, and experiment with different configurations. This can be a valuable learning experience, especially if you are interested in pursuing a career in technology.
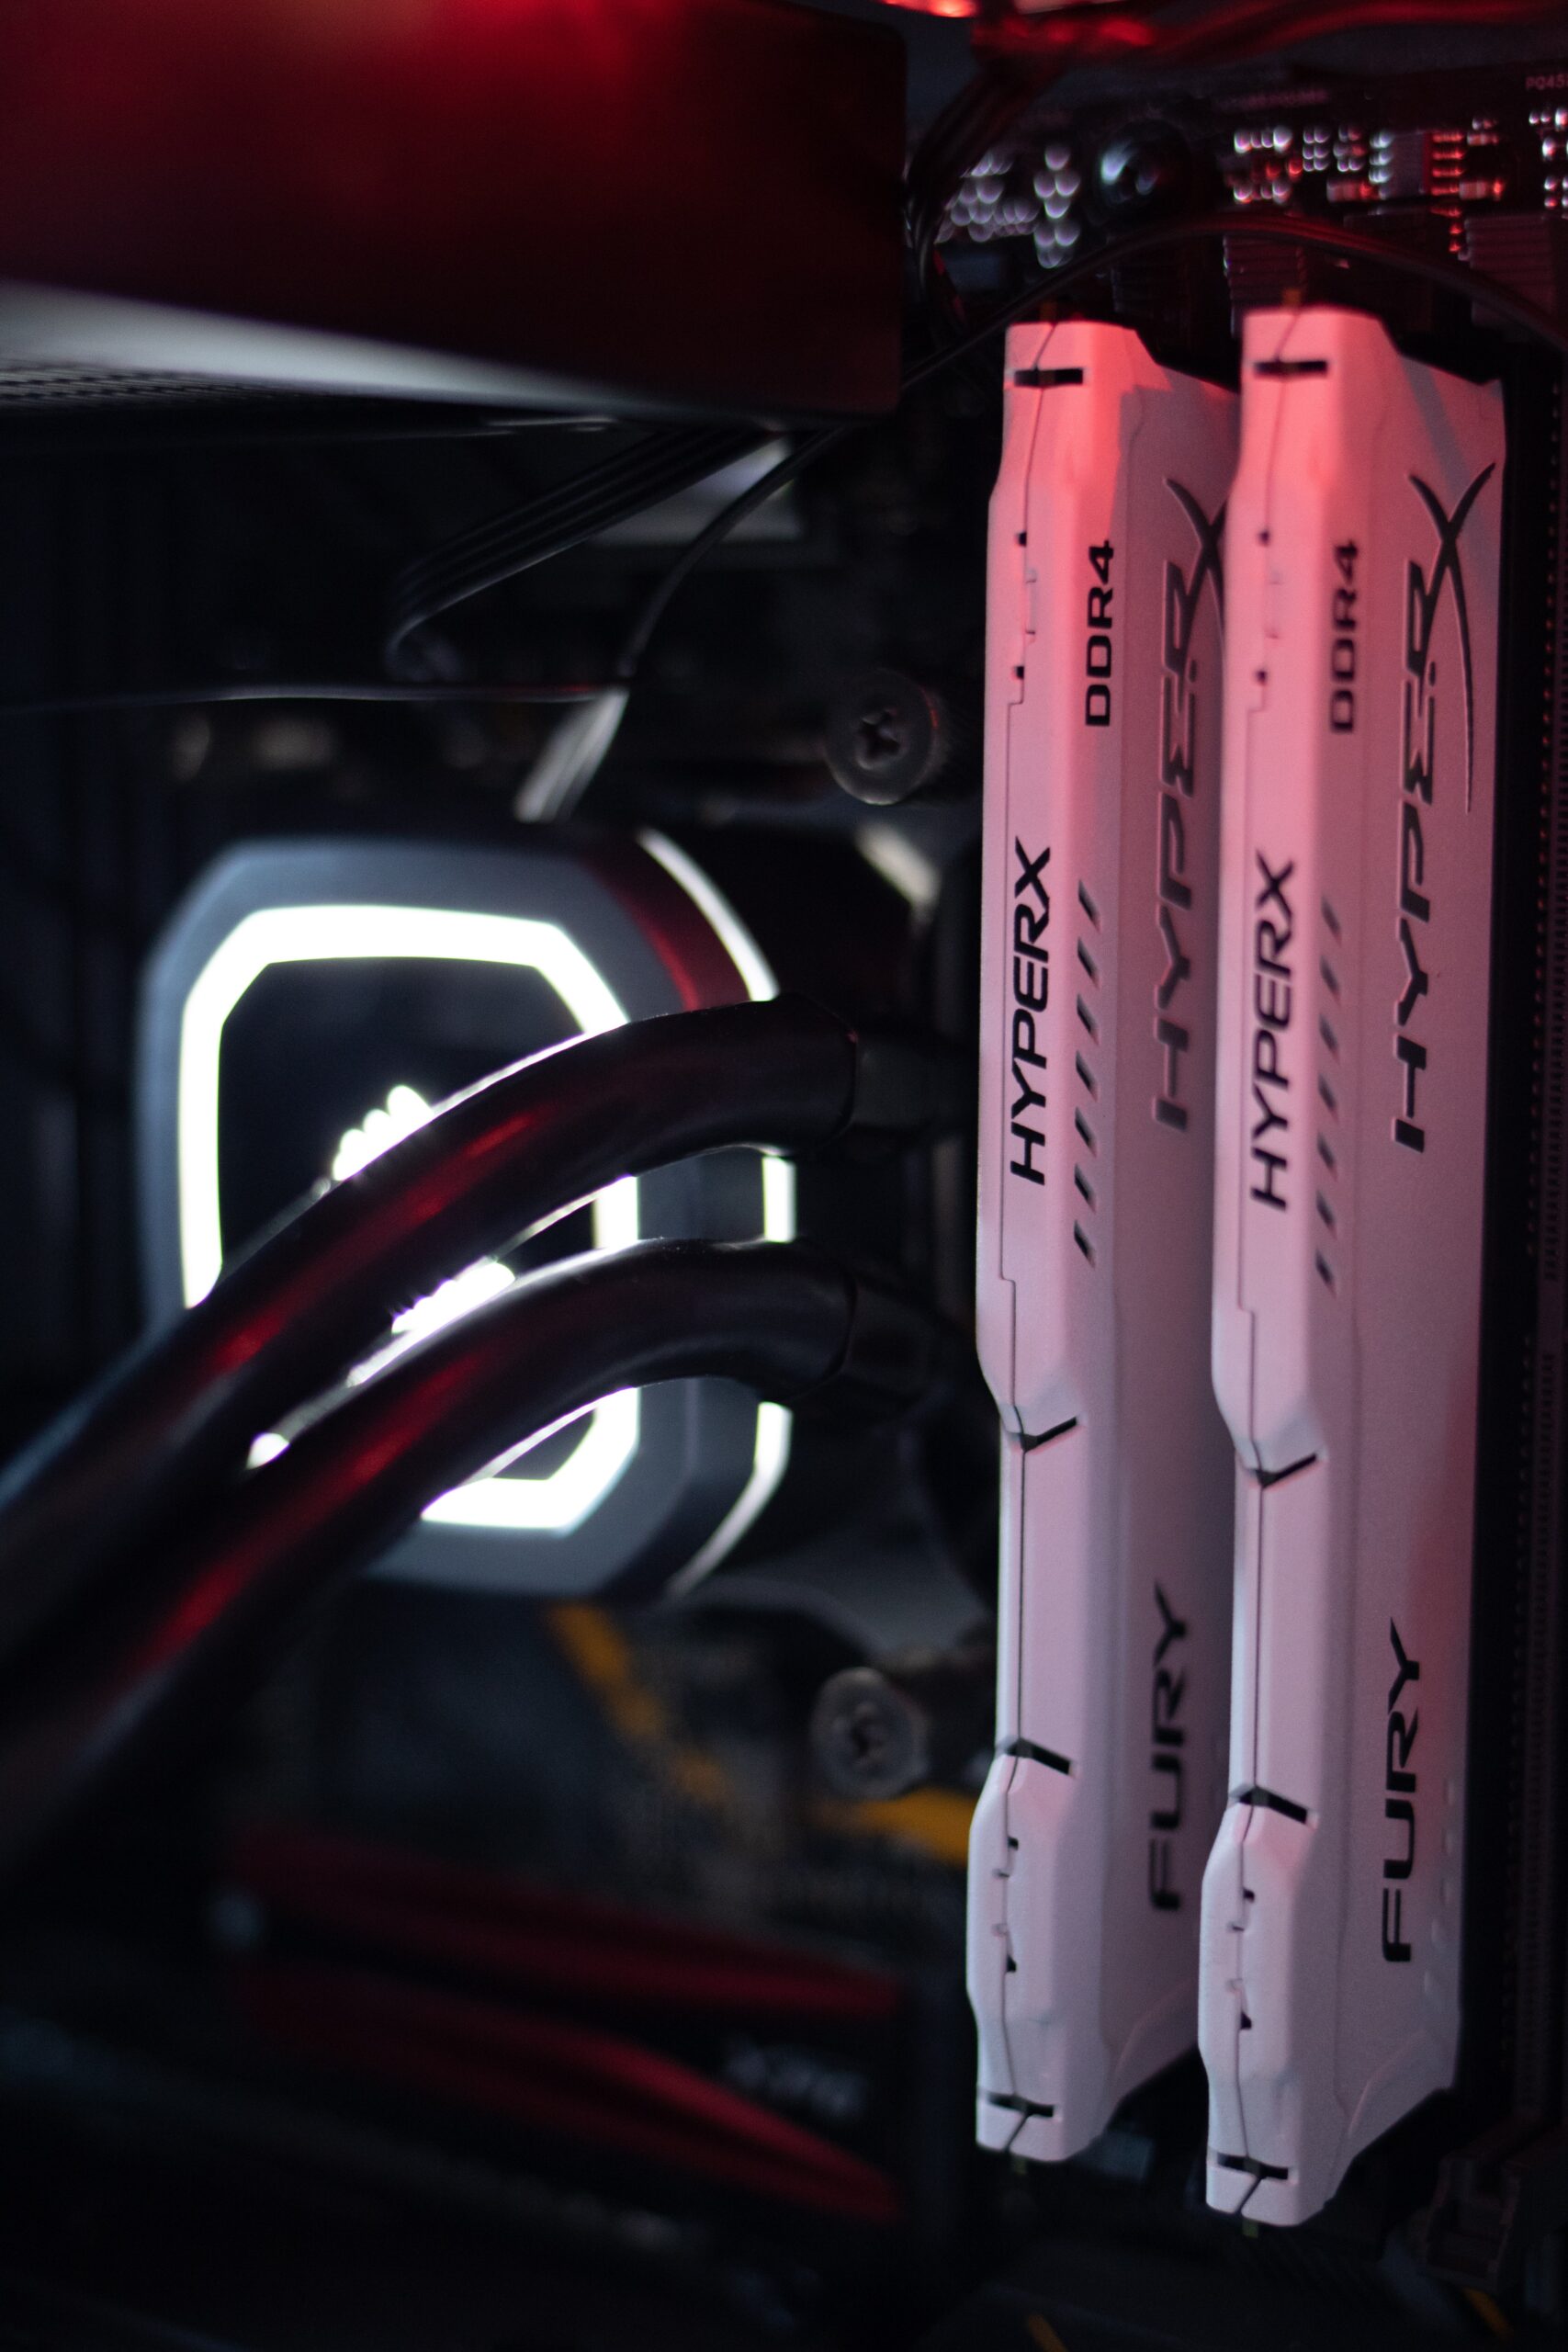
When it comes to building a homelab server, there are a few hardware specifications to consider. The most important components are the CPU, RAM, storage, and networking. For a homelab server, a multi-core CPU with hyper-threading is recommended, along with at least 16GB of RAM and multiple hard drives for storage. A dedicated network card is also recommended for better network performance.
One of the most common uses for a homelab server is running virtual machines. Virtual machines are like mini computers that run on your main computer. They can be used for a variety of purposes, such as running different operating systems, testing software, and creating development environments.
Recently, one homelab enthusiast shared their project on social media, which took them a few weekends to assemble and configure. They successfully ran virtual machines over the Proxmox hypervisor and configured a Windows VM with Virtio network interfaces. They also bypassed the GPU to control it exclusively in the Windows VM to allow full gaming performance.
To bypass a GPU PCI device via Proxmox configuration, you need to use the VFIO driver, which allows you to pass through a PCI device to a virtual machine. Here’s an example of how to do it:
- First, you need to identify the GPU device that you want to pass through. You can use the lspci command to list all PCI devices in your system:
lspci | grep VGA
- Once you have identified the GPU device, you need to bind it to the VFIO driver. You can do this by adding the device ID to the /etc/modprobe.d/vfio.conf file:
options vfio-pci ids=YOUR_GPU_DEVICE_ID
- Next, you need to create a new virtual machine in Proxmox and configure it to use the GPU device. In the Proxmox web interface, go to the Hardware tab of the virtual machine and add a new PCI device. Enter the GPU device ID and select the VFIO driver.
- Finally, start the virtual machine and install the GPU drivers in the guest operating system. Once the drivers are installed, you should be able to use the GPU exclusively in the virtual machine.
This project allowed the homelab enthusiast to use their homelab server for two different purposes: as a gaming PC and as a homelab running virtual machines that construct a Kubernetes cluster. With this setup, they were able to run various home services, such as media streaming and cloud sync of their mobile devices.
The ability to use a homelab server for multiple purposes is one of the biggest benefits of having one. It allows you to experiment with different technologies, test out software and services, and learn new skills. It also provides a platform for running different applications and services, such as media streaming and cloud storage, all in one place.
Overall, a homelab server is an excellent investment for anyone interested in technology. It provides a platform for experimentation and learning, as well as a powerful tool for running various applications and services at home.


Aa